Happy Valentine's Day to my lovely readers! I bought Margaret Bloom's delightful book Making Peg Dolls recently and these two little people are a straight copy of her Valentine's Day project. The only alteration I made was to use some pretty flowery braid I've had in my stash for years instead of the tiny paper stars she glued on separately for the girl doll's headdress. And as I'm all for short cuts, I die cut the felt hearts instead of the more characterful hand cutting on Margaret's dolls.
Thursday, 14 February 2013
Valentine be Mine
Happy Valentine's Day to my lovely readers! I bought Margaret Bloom's delightful book Making Peg Dolls recently and these two little people are a straight copy of her Valentine's Day project. The only alteration I made was to use some pretty flowery braid I've had in my stash for years instead of the tiny paper stars she glued on separately for the girl doll's headdress. And as I'm all for short cuts, I die cut the felt hearts instead of the more characterful hand cutting on Margaret's dolls.
Wednesday, 13 February 2013
Nutscene Twine Flower Pots
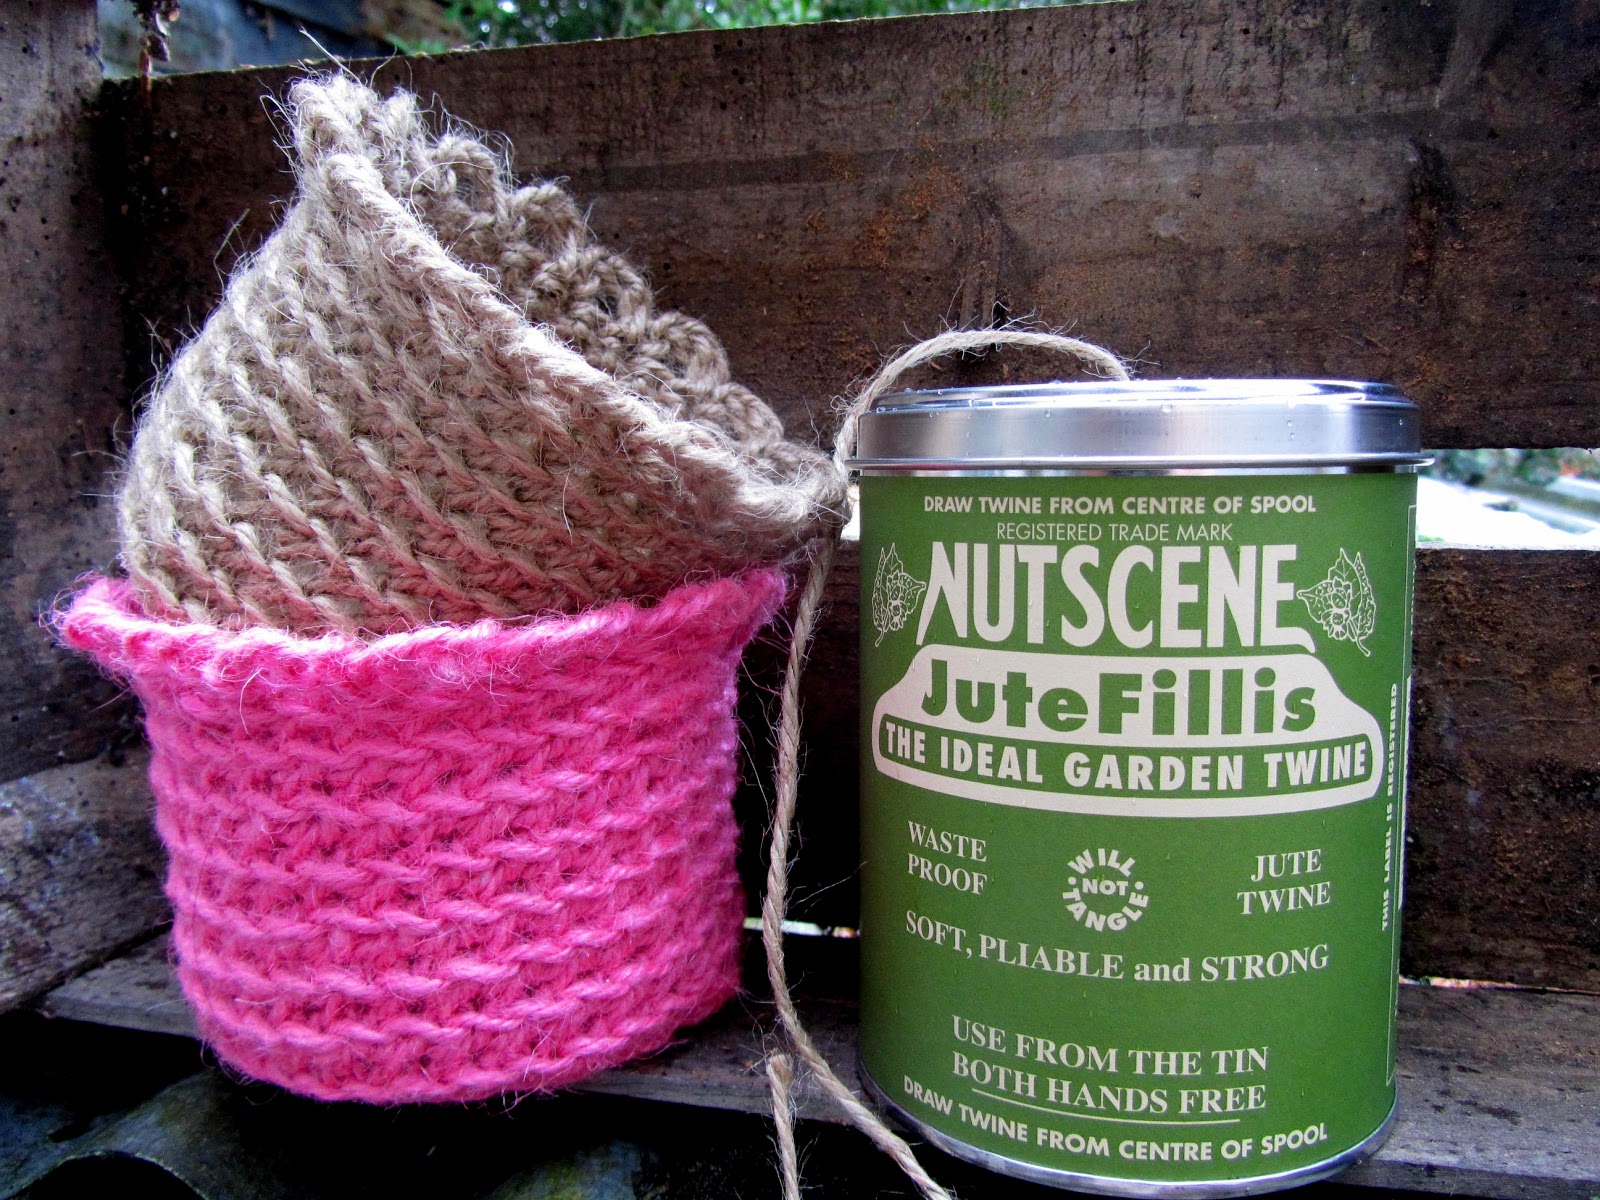
More crocheting with twine! I discovered some gorgeously coloured jute twine by Nutscene recently and couldn't wait to make something with it. I came up with these simple little crochet pots which make perfect containers for spring flowers or anything else you can think of. What about one on the kitchen windowsill for pan scrubbers or your washing up liquid? They'd be useful in the bathroom too I think.
Although the twine is of course waterproof as its meant for use in the garden, I've lined my little containers with recycled yogurt pots. This helps them keep their shape and will stop the bottoms getting soggy if your plant pot leaks or your dishcloth is wet. Only because I'm thinking I might sell these at my next craft fair, I managed to remove the printing on the plastic pot with fine sandpaper but there is no need to do that. I also cut the rim of the pot with a pair of scalloped scissors meant for paper or card to make it look a bit prettier (it doesn't seem to have harmed the scissors either).
These little pots are very quick and easy to make and in case you'd like to have a go I'm going to try to tell you how I made them. Its not a very rigid pattern as it doesn't really matter what size you make them. I do hope you can follow my instructions - if you have any questions please do let me know. I've used UK crochet terms - ie, double crochet is a single crochet in the US.
I used a 5.5mm plastic hook. I started with 5 chain joined into a circle with a slip stitch.
Next round: double crochet (dc) in same chain as slip stitch and then 2dc in each chain (10dc). Do not join the round but put a thread marker at the beginning of the round if you like and carry on in a spiral. This produces a much neater finished project with no nasty round joins visible.
Next round: from now on hook into the back loop only of the stitch. This gives a nice woven look and also as the twine is quite stiff, its much easier on the fingers. *2dc in next stitch; 1dc in next stitch - repeat from * round.
Next round: *2dc in next stitch; 1dc in each of next 2 stitches (remember just the back loop only); repeat from * around. This finishes the base of your container but if you want to make it bigger repeat the last round once more.
Next round: Now to make the sides - 1dc in each stitch repeating around. As you are not joining the rounds but carrying on in a spiral, continue with 1dc in each stitch until you are happy with the height of your container. When you get to the top you will find the rim might look a bit wonky (technical term!) so I slip stitched into a few stitches (about 5 stitches) until the rim looked fairly level.
Next round: To make the decorative scalloped edge, *chain 3, miss one dc, slip stitch into next dc. Repeat from * around and join with a slip stitch into the first chain.
That's it! If you can find the right size, pushing a yogurt pot (or any other sort of pot/container) into the container will stretch the twine a bit and make a nice even shape.
Remember this lovely twine is a garden product and I have to admit I've found it rather tough on the fingers and wrists. Make sure you use a comfortable hook and I think I would only make one or two of these at a time to ensure my wrists don't get too sore.
There are other lovely colours on offer from Nutscene and I've already got another three gorgeous shades on their way to me. I think I could probably get three pots out of each spool. As you can see above, I also treated myself to one of the special Nutscene twine tins and as well as being very
decorative it stops the twine twisting up when I crochet.
Of course you can use any twine for your pot but as a keen supporter of "buy local" I like the idea that Nutscene is a traditional British company that produces their string and twine in Scotland on machinery they have been using since 1922. The above spread is by photographer Andrew Montgomery and I think from one of my old Country Living magazines. There are US stockists too listed here, and just for Baukje, here's a link for France. (They have gorgeous raffia too that will be next on my crochet experiments list.)
Please do let me know of my instructions aren't clear. Its my first attempt at writing a pattern out.
Thursday, 7 February 2013
String, twine and yarn
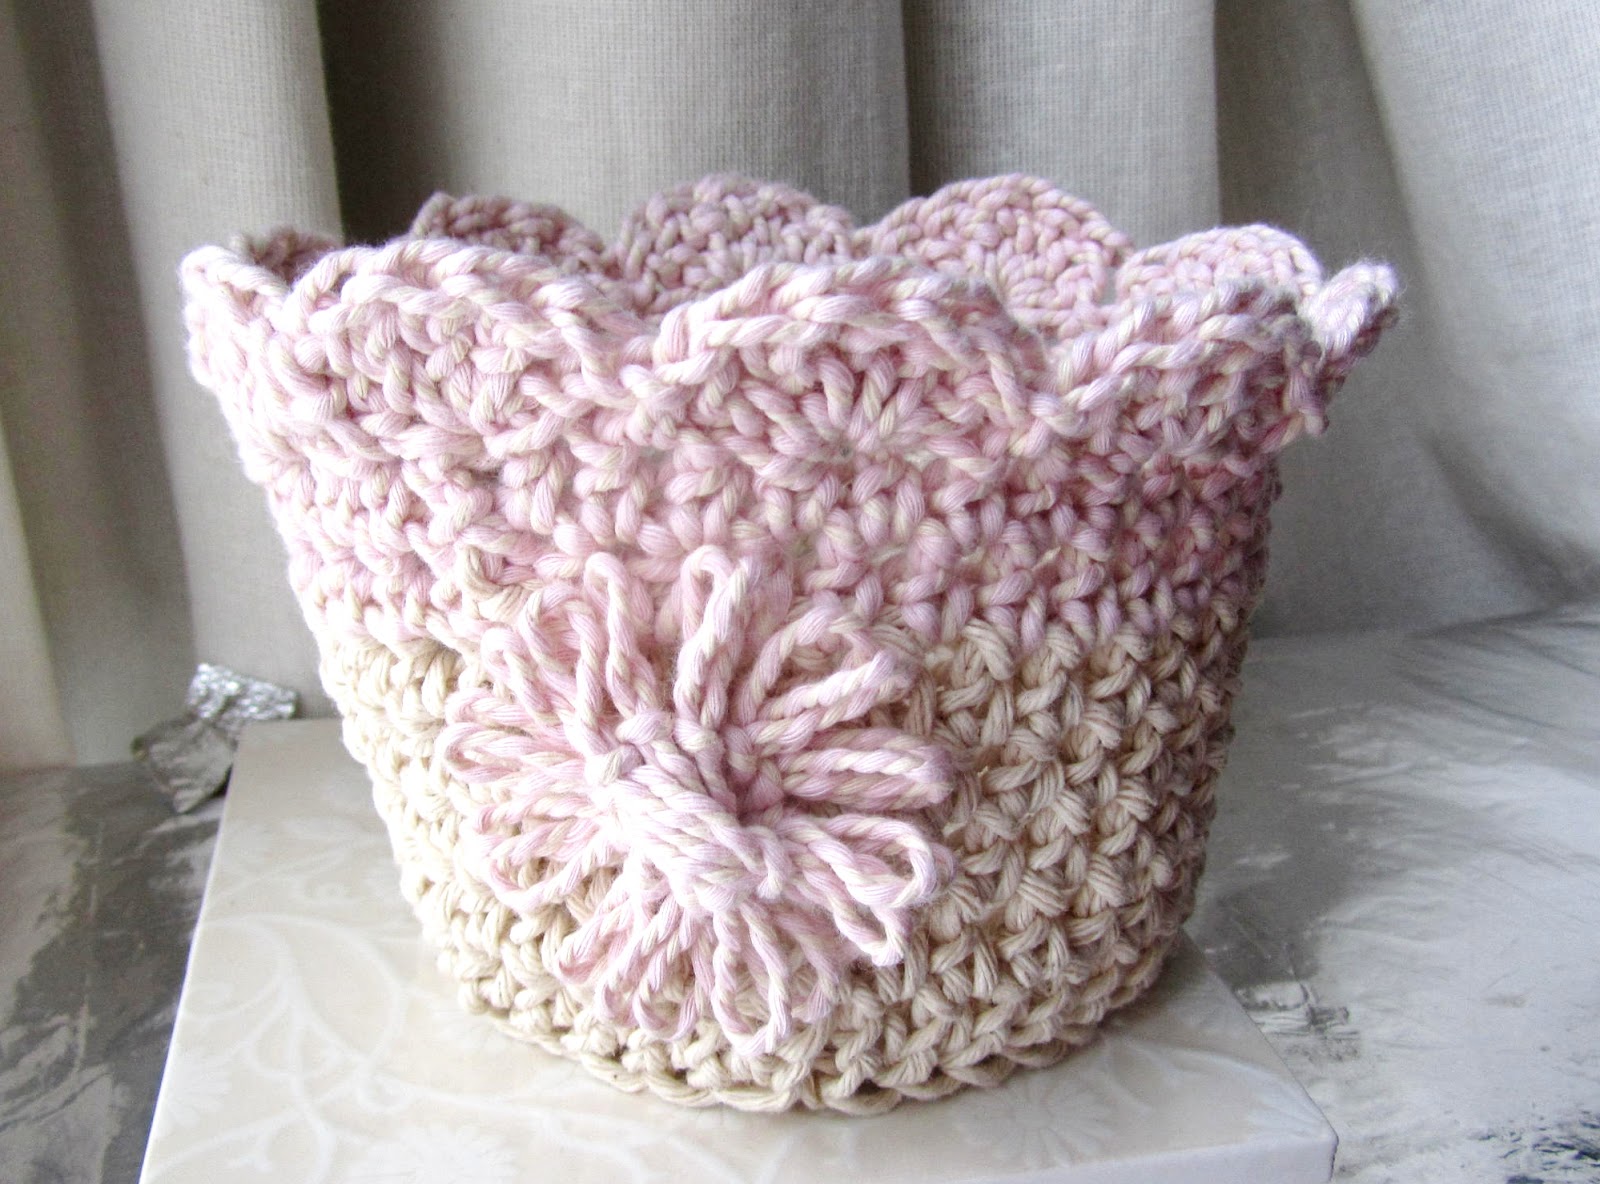
As always time slips by all to quickly and the Vintage in the Vale fair I'm so looking forward to is approaching at a rate of knots. Lately I've been experimenting with crochet string and twine to create pampering gift sets for my stall. I saw Alexandra's crochet bathroom bowl and decided to have a go at my own version. I used rather thinner string with some lovely bakers twine to crochet a cylinder shape and added a scalloped rim. Then I wanted something to put in the bowl and crocheted a simple facecloth and some spiral scrubbies. I'm hoping to add small locally made soaps to finish off the sets.
I first saw these spiral scrubbies on pinterest and following the link came to Natalie's excellent instructions. It seems these have been around for a long time but it was the first time I'd seen them. I really like look of the spiral and they are quick and easy to make. They make sweet small gifts on their own and when I was trying to work out some packaging found two scrubbies and a small soap fitted neatly into Papertrey Ink's Favor It Box 2.
I think I'll be making more of these. I used 4ply natural cotton yarn that is lovely and soft but will stand up to bathtime well. I also tried some Rowan Handknit Cotton dk which also crocheted up nicely but made a rather more substantial scrubbie good for exfoliating. Here's the set using the chocolate Rowan yarn.
Lots of bloggers very generously put patterns and tutorials on their blogs so that we can all have a go at making lovely things. Now, I've never written a crochet pattern before but if there is any interest in these bowls (can't think of a better word for them at the moment) I like to write instructions for the pink one. Please leave a comment on this post if you'd like me to have a go.
Friday, 1 February 2013
January Snapped!
Well I had decided not to carry on with the monthly review pages this year but as I was so pleased with them printed in book form I changed my mind. I searched for another 365 template kit at my favourite digital store Oscraps and went for Maya de Grout's nice and simple templates Snap: The Monthly Shots.
You might notice a fair amount of crocheting has been going on this month. Its definitely the craft of the moment and Pinterest is peppered with lovely inspiration and patterns. I've a couple of projects in the pipeline for blogging and hope I can find time to post this weekend. If you have crafty or any other plans for the weekend, have a great time and as "Brucie" says, keep dancing...... oh, no, I mean crafting of course!
Friday, 25 January 2013
In Print
The scrapbook page book is 8 inches square and although traditionally scrapbook pages are meant to be 12 inches square, this size is perfectly acceptable. The only potential problem with getting pages printed in book form is possibly losing edges due to "bleed" in the printing process, ie to get images printed right up to the edge of the page a tiny strip will be cut off.
This doesn't usually matter much but needs thinking about when adding text or journaling notes to pages - I was lucky at the bottom of this double page spread.
I wanted to print my blog monthly review pages from 2012 in a separate book so this was my second square title. There are 24 pages in a book (extra pages can be added at a small cost) therefore 12 monthly layouts fitted in easily and I added some of my favourite 2012 photos to the other pages. The monthly review layouts mostly go right to the edge of the page and if I'd thought about it more I would have paid extra to add in the "lay flat" feature. Must remember that for next year.
My large landscape book was pure indulgence! In the age of the digital camera, holiday photos are mostly destined to stay in digital form, and once the holiday is over probably never to be looked at again. I captured some lovely scenes during my visit to Nice last October and thought they deserved to be seen in print.
I must say I'm really impressed with the quality of the printing and the finish of the books. I opted for photo covers - which is included in the basic cost - and chose the page layouts myself instead of letting Vistaprint fill the book with my photos automatically. However its an easy process and not at all lengthy if you don't change your mind a dozen times about which pictures to include (like I usually do).
By the way, this is not an advertisement for the company - I'm sure there are other equally efficient companies out there that do just as good a job - this is just the one I use and have found very efficient.
Saturday, 19 January 2013
Eira Fach, Eira Fawr
We crafters do suffer for our hobby! Sitting still stitching, hooking and stamping in this freezing weather is not easy, especially when hands are cold and you need to make tiny stitches. This morning my hands and feet have been like blocks of ice and I think I must get my hot water bottle down from the bedroom and refill it to warm my hands.
My new kitty Titch is very young and has probably never seen snow before. She's not quite sure what to do with it. Its still snowing tiny flakes at the moment - just one or two ice crystals stuck together. I remember we used an old Welsh saying when we were little and it was snowing - eira fach, eira fawr, which literally means little snow, big snow. In other words if the flakes are small there is lots more to come!
With St Dwynwen's Day just a week away I managed to create some more felt brooches for my Folksy shop this week. I found this lovely celtic style die last weekend and decided it was perfect to present my brooches for our Welsh lovers' day on 25th January. I added some suitable Welsh wording with wooden peg alphabet stamps - rather time consuming but the font was just right. If you'd like to see more you can find them here in my shop.
Coming home over the mountain this afternoon we saw several fields where people were sledging. While it's nice to see the kids enjoying the snow, I'm always dismayed to see the aftermath once the snow has melted...... I just hate to see broken sledges left behind, litter and even holes in fences and hedges. No wonder farmers will hit back by spreading manure on popular fields
Wednesday, 9 January 2013
St Dwynwen's Day
Now the Christmas season is over crafty blogland is awash with Valentine's Day projects. There's plenty of time to create some lovey-dovey cards and gifts but here in Wales we only have a couple of weeks before St Dwynwen has her lovers day. I've been experimenting with my new heart dies from Papertrey Ink - they were expensive but as there was nothing else that appealed to me last month I didn't mind splashing out on them. And I'm glad I did as I've enjoyed creating these little hanging heart decorations with them. Yesterday was dark and wet and not conducive to photography but today the sun has returned (though as you can see above, there are strange clouds hanging on the mountain) and I was able to snap them pinned to the old shed outside the back door this morning.
They are quite easy to make. The patterned edged dies cut my favourite Myriad felt really nicely - even the lacy edge cut perfectly. I then stab stitched fabric hearts to back and front and added buttons or Die-namics rolled felt roses to decorate. The little leaves were cut using another Papertrey die from the Lovely Layers collection.
Easy-peasy as you can see from the photo. I did use iron-on interfacing to ensure the fabric hearts cut cleanly and there's a smaller felt heart layer underneath each fabric heart to add a bit of subtle padding.
As you might imagine, good Welsh language rubber stamps are impossible to find and I'm too lazy to stamp a greeting out with individual alphabet stamps today, but I found this lovely card on the Visit Wales website (its a free download), along with St Dwynwen's story and some suggestions for romantic breaks and restaurants - if you should need that sort of thing!!
Subscribe to:
Posts (Atom)