Showing posts with label up-cycling. Show all posts

Sunday, 17 January 2016

Colour for a Grey January


Here we are half way through January already and not a project finished! However I have finished the first stage of my first stitching for the first month. I don't know about you but I've always thought of the months of the year in colour form and this year January is definitely grey. However I wanted something more colourful to start the year and decided on an Autumn theme (and why not!). And that meant I could use the pieces of old (mainly Welsh) wool blankets I've been collecting. 


Its quite a simple design - simple shapes and easy basic embroidery stitches. I haven't decided on the finished product yet.... could be cushion, lap blanket, wall hanging, but I won't be putting it behind glass as I love the raised texture of the appliqued leaves.


The next step is backing and I think there will be simple quilting. I'm adding a layer of cotton batting between the blanket and grey flannel backing.


I used vintage threads to embroider too. Some are labelled for crochet, some knitting silk, and some for embroidery. I like that all the materials I've used, except the batting, are reused/recycled.


I've already got two more projects planned - both using embroidery in some way. A friend has asked for a gift for her friend featuring a squirrel and there is a new baby on the horizon to stitch for. I'd like 2016 to be my year of embroidery but we'll see how it goes.

Love to know what your New Year projects are.... and perhaps see a photo or two when completed!

Saturday, 19 December 2015

Jingle all the way....


I've been rather obsessed by bells this Christmas season - almost everything I've made has had a jingle added! There are lots of bells on these snowflakes I've made to hang in the window.

I saw these Pierced Snowflake dies from MFT (My Favorite Things) on the Make the Day Special Blog and really liked what Jenny had done with them. There are lots of snowflake dies on the market, and I do have a few, but these are really pretty and even though I often have difficulty with larger dies on my ancient cuttlebug, these cut perfectly and even the tiny dots around the edges are well defined.


As usual I've used cereal box card. Yes, all these really are cut from just cereal boxes - there is no top layer of fancy paper. As snowflakes are, of course, symmetrical I cut two for each and glued them back to back. As soon as I've glued each shape I quickly put it under something heavy to keep it flat and well stuck - a pile of magazines is perfect as you can put two or three between each magazine with a big pile on the top.


The white card comes from a rather expensive cereal I always buy when its on offer, but I really like the natural card too. You'd probably pay quite a lot for "Kraft" cardstock in a shop or on line so before you assign your empty grocery packets and boxes to the recycling bin I'd advise you to take a second look - you never know what you'll find inside!


I've joined the snowflakes together with jumprings and added the bells with jumprings too so that they stay loose and jingle nicely. The one with red bells has a couple of beads added too. A bit of wire or twine would do just as good a job if you don't have jumprings in your stash.


They don't have to be joined together though, they are just as pretty on their own. But of course I still couldn't stop myself adding a bell or two! :o)

Just realised the background in that photo looks a bit strange! No, I haven't shut the cat in the cupboard - its a bottlebrush fox waiting to be released and put on the Christmas tree! However I have to admit Titch is finding it difficult to get a comfortable spot for her naps amongst all the chaos that is my Christmas crafting space!!!


Friday, 16 January 2015

A Wren for Christmas


It gets increasingly hard to think of original Christmas gifts for my sisters, especially as we don't spend more than a fiver or so.  Of course they always expect handmade from me.  I saw the coin pendant idea on Pinterest (where else!) and bought the farthings quite cheaply on ebay for the years my sisters were born.  Luckily we were all born before they stopped minting that sweet little wren in 1956.  I then had the problem of packaging such a small gift and came up with the walnut idea.  I already had some shells I'd sprayed gold for Christmas tree decorations and I just lightly glued the two halves together with the pendant inside.

If you want to copy the idea for someone not as ancient as we are, take a look at the coins from other countries too.  There are some lovely designs - I especially liked the Irish coins.  And of course some of the more recent decimal coinage here in the UK has some most attractive designs on the reverse.  It doesn't matter if the coins are dirty and tarnished - I polished mine with good old Brasso and also gave the surface a thin coat of Ranger's Glossy Accents to keep them shiny.

Friday, 3 October 2014

Stitiching at Sugar Plum Tearoom


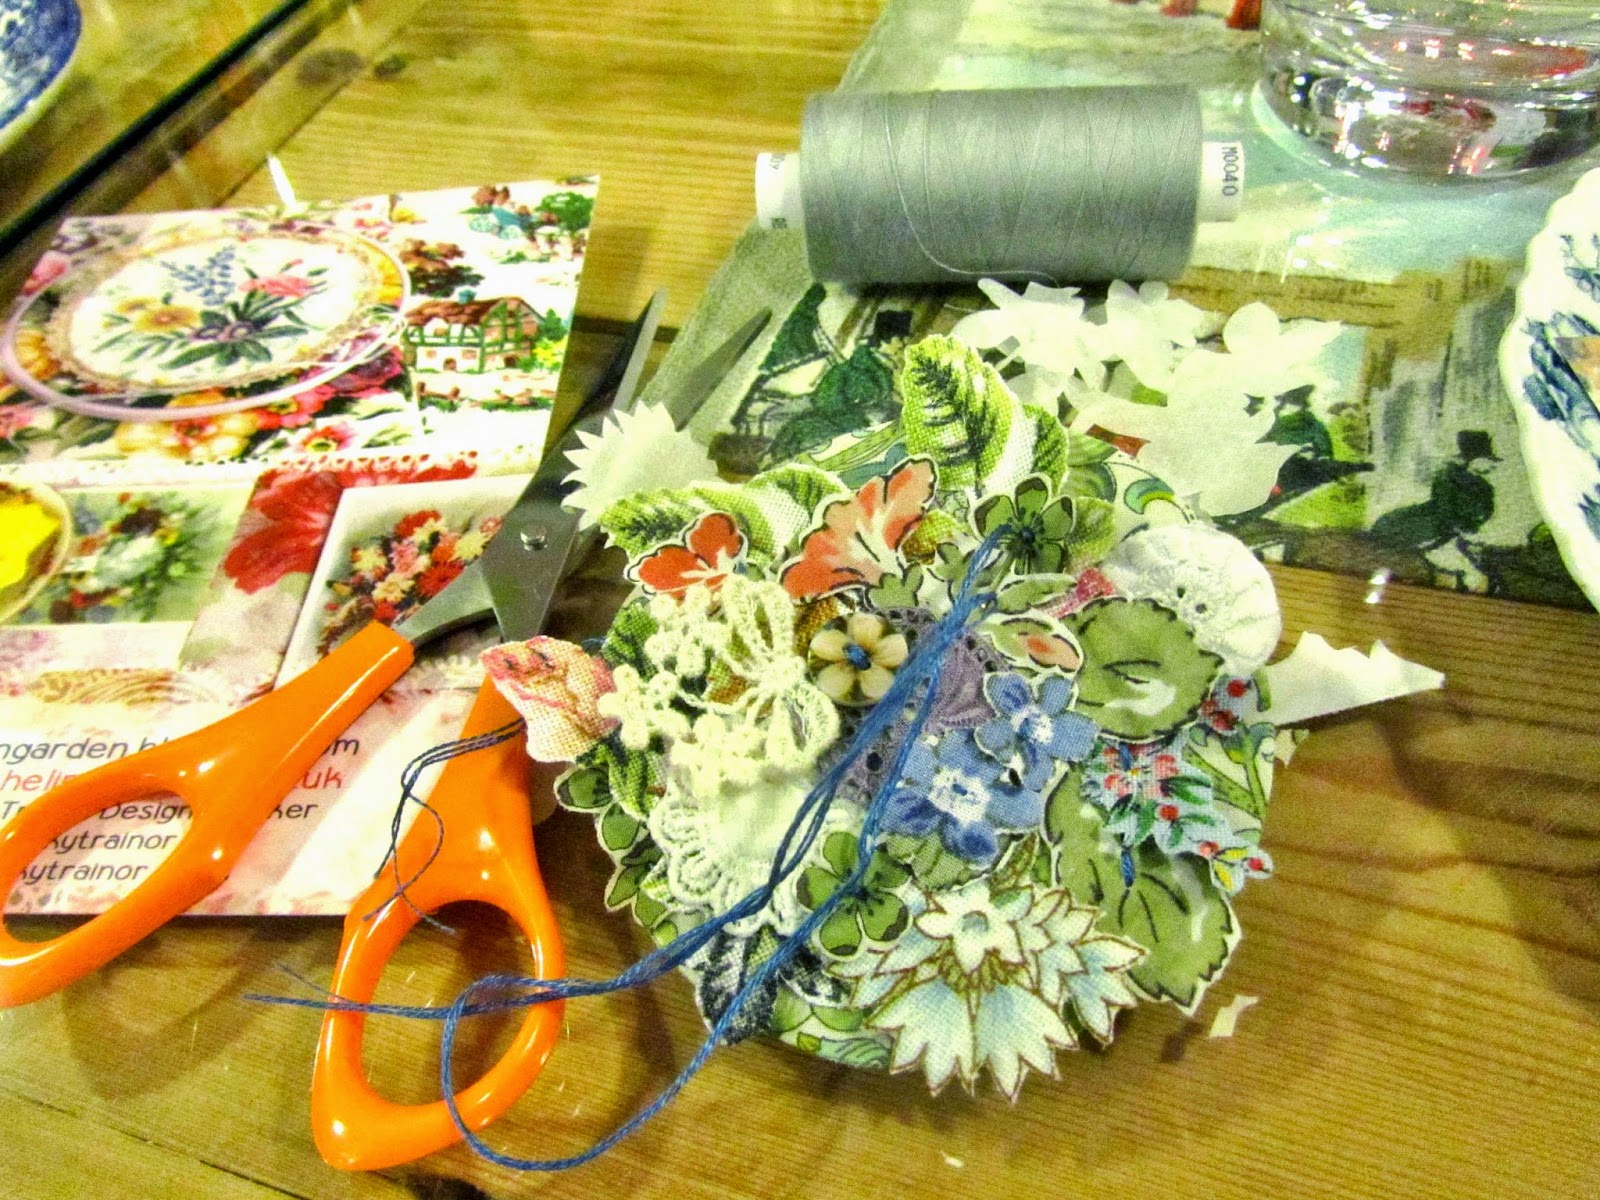
My friend and I treated ourselves to a lovely evening of creative stitching with the fabulously talented Vicky Trainor of The Linen Garden yesterday.  She held a workshop at our favourite Sugar Plum Tearoom at Homeward Bound.


What a lovely time we had cutting, stitching, chatting and enjoying tea and cake and we all created something beautiful. 


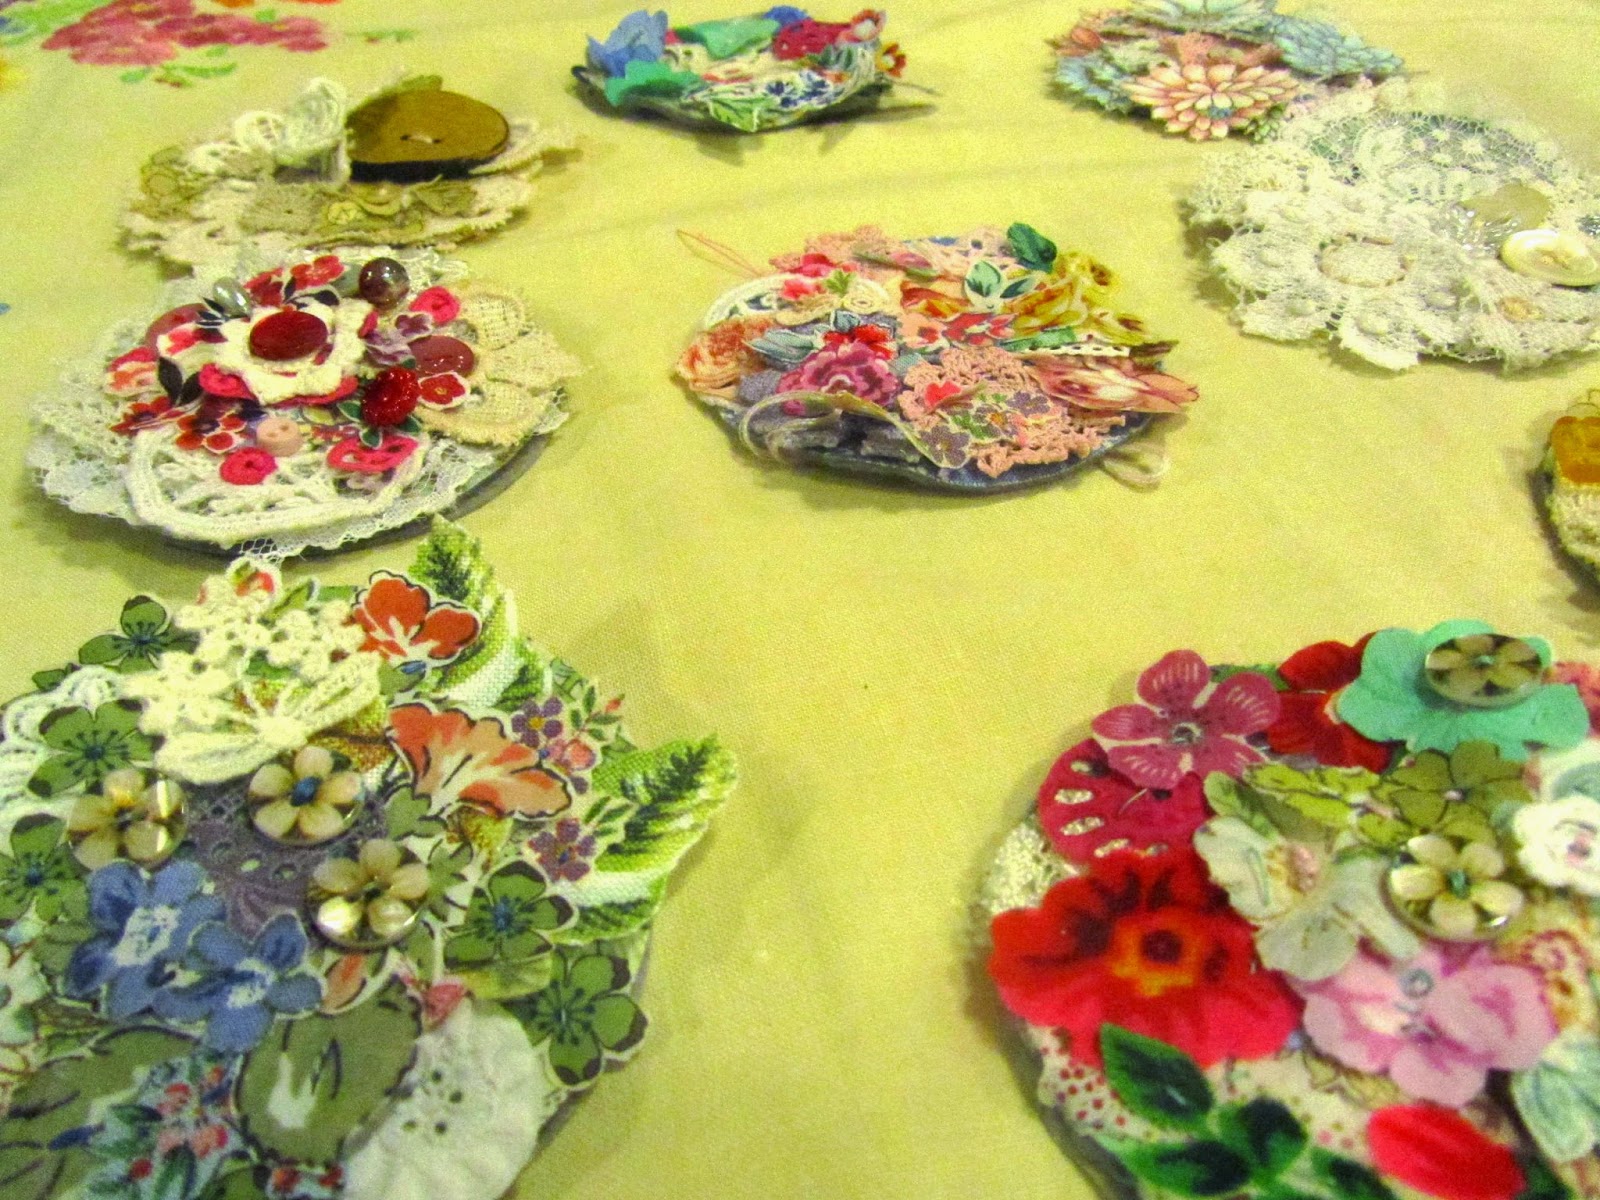
There's nothing like getting together with other like-minded crafters to give yourself a boost of creativity and I think we'll all be rifling through our fabric stashes today looking for bits and pieces to make another brooch that will of course be better than the first.


But just look at the beautiful creations we all took home!  A whole gardenful of prettiness!


I'm really looking forward to the next workshop - whenever that is - but in the meantime Vicky now has her own mini-shop within Homeward Bound to inspire and delight. 


And of course, even if you are not a stitcher or even a local, Sugar Plum is always worth a visit when in the area - afternoon tea there is to die for! :)


Friday, 5 September 2014

More Pretty Purses

September is a busy birthday month in our family - second only to December which has even more! 
I've made more zip purses as gifts as they are always useful.  Earlier in the summer I made cut off denim shorts from some jeans I had "outgrown" for donating to the Greyhound Rescue Wales charity shop where I volunteer and I didn't want to waste the "legs" so used some for my purses. 


Have to admit the stretch denim was not at all liked by my sewing machine but making sure the stretch was across the purse and not top to bottom worked a bit better.  Love the ladybird braid I ordered on Etsy as while ago and this ladybird stripe fabric I've had for years and years was just perfect for the lining.


I don't have a smartphone but have made my purses to fit them.  They are also the right size for pocket digital cameras.  I've a smaller purse that fits my phone and I clip it to the inside of my handbag so that I can grab my phone quickly without emptying everything out onto the floor to find it at the bottom.

Monday, 21 July 2014

Tea or Coffee?


I'm making lavender stuffed sleep inducing pillows/sachets using some of my doily collection.  Inevitably old table linens and doilies will have stains - especially tea stains, so I thought I would try dying a few using tea.


Its an easy process - find a suitable dish or baking tin to fit the doily, add tea bag or bags, and pour on hot water.  Swish about a bit to release the tea from the bag.  Leave until you have the colour you like.  I left mine about 45 minutes then squeezed out the tea and rinsed them a couple of times.  I dried them flat on kitchen paper towel sheets, finishing off with my iron to keep them nice and flat. 


We only use loose tea for drinking but I had a gift box of Harrods English Breakfast teabags in the cupboard and as you can see the colour has turned out rather more of a pretty coffee shade than tea.


These two are hand crocheted - such very fine work!  They must have taken hours to make and really deserve a second life on show.  They are next to be transformed into pretty lavender sachets.  I hand stitch the doilies onto squares of suitable fabric, add a plain back, machine stitch into a square and fill with dried lavender and polyester filling.  Although rather a long process, its best to stitch down as much of the doily as you can so that it doesn't catch on something and tear.

My room is filled with the scent of lavender - lovely..... zzzzzzz!

Sunday, 22 December 2013

On the Tenth day its time to Wrap!

Heck I've nearly missed my tenth day post - its been a busy day with work and then family arrivals for the holiday, but there was just time to wrap a couple of parcels before midnight.

To be honest I don't really go to town with wrapping, it seems a bit of a waste to me, and I certainly hate to see all those recycling bins overflowing with the detritus of Christmas on the first collection day after the festivities.  So every year I like to reuse paper I've collected from parcels and packing.  There was a long length of crumpled brown paper in one parcel I received sometime in the last 12 months and I remember smoothing it out and rolling it up for just this moment.  It was easy to turn it into Christmas wrap with a small reindeer stamped randomly all over in chocolate brown.  And garden raffia to tie it up just seemed right.  My simple office stationery tags finished off the the home made look I think.  I even reused one of those board backed envelopes in the same way for one gift - can't say what it was but it was flat and had 12 pages!!! ;o)

Stamps:  Folk Art Christmas Additions and Twas the Night Before Christmas from Waltzingmouse Stamps

Monday, 16 December 2013

On the fourth day of Christmas..... peg snowmen


You may have seen these here before, however they are another quick and easy project you could make with children so I don't mind repeating myself.   Paint your pegs with blue and white acrylic or poster paints.  The noses are the tips of cocktail sticks coloured with an orange felt pen and glued into a small hole made with a screwdriver or similar.  A simple face is drawn with a black marker and the scarfs are cut from felt scraps.


These pegs have stands as they are specially made for crafters but ordinary pegs will do if you add a cord to hang in your tree.  Cute or what!

Don't forget to visit my friend Baukje at Busy Bee Free who is also crafting the 12 days of Christmas.

Thursday, 21 November 2013

Rustic tree decorations


Many years ago - it feels like another life - I needed a second job to make ends meet.  I ended up working at home in the evenings for a local enterprise drawing pictures on small wooden items such as spoons, boxes, plaques, etc for the tourist trade.  Eventually the job ended and I was not sorry as though initially enjoyable, once you've sketched the same design on 250 wooden spoons the enjoyment palls! 

Anyway, I digress!  I saw The Sitting Tree's lovely decorations and thought I'd try the craft again.  I bought a new pyrography pen and some wood slices on ebay and these are the result.  I cheated rather as I selected some suitable small stamps, stamped on the slices with a pale kraft ink and sketched over the design. I might have a go at an original design next - though I won't be going into mass production any time soon!

Wednesday, 13 November 2013

To recycle or reuse.... that is the question!


Little glass jars are something I find hard to throw into the recycling box - they are so cute.  But what to do with them?  Really a bit too small for jam or pickles, but I'd seen lots of crochet covered jars on Pinterest (just search crochet jar) so I tried them out. 


They are very pretty lit with tealights and the taller ones could be used as small posy vases too.  These are my Christmas versions decorated with holly (adapting Lucy's pattern here) and mistletoe (adapting Maize's pattern here), adding felt or wooden beads as berries.  If you don't crochet, here's a jar covered with a strip of burlap (hessian) and you could use felt leaves with the beads. 


I was a bit concerned about using real tealights, especially as I'm thinking of taking some to a craft fair, so here's a photo of them with those LED battery powered lights.  Not quite as pretty but safer, especially if there are children around.


Hmm.... really getting the the Christmas mood now.  And its only early November!

Thursday, 5 September 2013

Jars of crochet


I've been meaning to try crochet jar covers for months - they've been featured in many craft and lifestyle mags this summer.  Some baby food jars were kindly donated by Alfie (my friend's little grandson) and I tried a couple of covers yesterday.  I first tried a lovely free pattern from Lulu Loves for the tall jar and then altered a basic fillet crochet pattern for the smaller jar.


As well as being very useful as small flower vases and for small item storage, they make lovely tealight lanterns.  I used real tealights for the photo but I think those battery ones would be safer as the jars are so small.  I blew out the flames as soon as I'd taken the photo.  Normal sized jam jars might be ok.  Lighting needs one of those gas lighters - not matches or spills as I tried to my cost!!

Unfortunately Alfie has now left baby food far behind and I'll need to find a new source for my next lot of jars!

Thursday, 11 April 2013

Vintage embroideries reborn


If you are in the UK you might have noticed the latest drive for funds by the British Red Cross falling through your letterbox.  There are often little inducements sent with charity fund raising campaigns and this latest one is particularly appealing for me.  The greetings cards, bookmark and coasters are decorated with images inspired by the Changi Quilt, a patchwork quilt created by women in Japanese internment camps during WW2.  With the current popularity of sewing, quilting and embroidery I hope the campaign is a success - I think I must make a donation, not least because our family have to thank The Red Cross for getting my Father through the five years he he spent as a Prison of War in Poland during the war.  He always said food parcels sent by the Red Cross saved his and his fellow POWs lives.


Behind the cards in the photo above you can see some of my latest embroidered household linens acquired and intended for up-cycling.  The best pieces for me are tray cloths - the embroidered motifs are usually quite small and they often have tea stains, which makes it so much easier for me to take my scissors to them without feeling too guilty.

Anyway, I thought you might like to see how I use the embroidered pieces so I've put together a little tutorial (not really keen on that word!).  Here's how I make a simple hanging bird. 


I've made myself some templates from acetate packaging and use them to decide where to place the pattern on the embroidered cloth to best effect. 


I only use the embroideries on one side of my bird - although these hanging decorations would look pretty in a window and therefore both sides would show, the light would soon fade the embroidery and discolour the fabric.  So I will hang my bird somewhere out of direct light.  Use a plain part of the same embroidered cloth for the backing or use a different complimentary fabric.  Here I've used a plain linen of similar weight but a printed cotton would look pretty too, especially if a colour in the embroidery is picked out.


The scrap for the beak is completely optional - I must admit the extra layer of fabric does make turning out the point of the beak cleanly a bit more difficult, and I think the bird looks just as good without.  Leave a turning gap in the seam of at least 2 inches (5cms) to make it easy on yourself when turning the piece right side out.


My favourite tools for turning through small pieces are these locking forceps and my old wooden clay modelling tool.  The forceps are great for pulling through stubborn shapes as you can grab and lock on to that awkward far end of the piece - just be sure not to damage the fabric.  They are also invaluable for pushing stuffing into tiny spaces.  The modelling tool is nice and blunt and won't poke through seams making a nasty hole.   Other useful tools are knitting needles, crochet hooks and the points of scissors if they are not too sharp.


Remember to add the hanging loop and legs BEFORE you start to stuff.  You can use anything - I've used some lovely thick cotton bakers twine here, but ribbon is pretty and cotton knitting or crochet yarn, twine or string are good too.  I sometimes make a twisted cord using thin crochet yarn or embroidery threads.  You can find lots of demonstrations on Youtube if you don't know how to do this. 


You can leave the legs out altogether - the bird looks just as good without them.  I use acrylic toy stuffing to fill together with something aromatic.  Lavender is always a favourite but I also like crushed spices (especially star anise).  Recently I've tried herb or fruit teabags with a few drops of an appropriate essential oil added.  Be sure to to push the stuffing right into any sharp corners.  Wrapping the lavender or spices in a layer of stuffing is a good idea too so they don't show through or stain the fabric.


Using a single length of cord for the legs ensures you can pull through to make sure the legs are the same length.  Be generous with the length of twine so you can knot it easily before cutting off any excess.  When I'm finished I like to steam press the seams flat holding the bird in my hand and being careful not to burn my fingers.   This gives the piece a nicer rounded shape.  And even though the back of my bird is plain I do add eyes on both sides. 

Here are some more I made earlier!  The Dalar horse is an experiment - the pattern needs tweeking a bit I think.


 This post has turned out much longer than I anticipated so if you have stayed till the end I thank you - and if you have any queries please don't hesitate to ask. 

I really like the thought that something that has had so much work put into it long ago but has since lain forgotten in a drawer can now be brought out and admired by another generation of crafters.

Friday, 23 November 2012

Oh Christmas tree, oh Christmas tree (and a giveaway too!)


I love my papercrafting dies...... you may have noticed that already!  Last year I used them to make cereal packet decorations for the Christmas tree and as I've added a "few" more dies to my collection since then, I thought it was about time I put them to good use.

I was addicted to making these Angels in 2011 but this week I've gone to town with my new Christmas tree dies, one from Papertrey Ink and one from Wplus9.  And once again I've used cereal packet card as my base as its just the right thickness to cut nicely with the dies and of course its free


My very favourite cereal, both for card and to eat, is the Dorset brand.  I was busy die cutting the boxes the other day when I thought how nice the trees looked 'in the buff' so to speak, ie without a top decorative layer.  Dorset cereals come in a number of different varieties and the box graphics has had a new look recently with each cereal variety having its own colour scheme.  I really like the kraft colour one and set about cutting the trees more carefully so that I could utilise the best bits of the box design.  I thought my little trees were perfect for creating a garland and all I added were a few felt hearts and wooden beads before crocheting them together.  I really like how it turned out.

My other trees are more conventionally crafted - adding vintage sheet music, layers of stamped cardstock, or of course using the matching stamp set. 


If you'd like to have a go at making a small forest for your Christmas tree, I've decided to have a little giveaway - a sort of Christmas present for all my loyal followers - you know who you are!!  I've loved the recent releases from Wplus9 and was absolutely delighted to find Emily at Make the Day Special had started stocking the stamps and dies right here in the UK - yippee!!!  I added an extra set to my last order and if you'd like a chance to win your very own Pretty Patches Tree stamp set with the matching die just leave a comment on this post and I'll pick a winner on 1st December - which will leave you plenty of time to eat lots of cereal and make some trees for yourself before the 25th.  I used my Cuttlebug to cut the shapes but if you don't have a die cutting machine you I'm sure the old way of drawing round the shape and cutting out with scissors will be just as efficient - if a little bit more time consuming.  A few small elf helpers might speed things up!

Supplies:  Stamps - Wplus9 Pretty Patches Tree; Waltzing Mouse Stamps Nordic Christmas, dies - Wplus9 Pretty Patches Tree; Papertrey Layered Postmarks Holiday die collection

LinkWithin

Related Posts with Thumbnails