Saturday, 13 June 2015

A Little Free Stitchy Time

I saw these little fabric trays at A Spoonful of Sugar and thought they would be just right for my Mum's 91st birthday as she is rather untidy by the bedside, with sweets, medication, pens, headache sticks, inhalers, tissues, biscuits, etc, etc, etc, jumbled all over the bed and bedside table. At least the very small items could be gathered in a couple of these.


I tried a patchwork one for variety and then I thought these small fabric spaces were the perfect spot for a little free motion stitching. I took a couple of classes earlier in the spring and really should practise and build on what I learned there. I tried a couple of floral motives and really started enjoying the stitching instead of being rather afraid of lowering those sewing machine teeth!


I like how they turned out so now I'm going to move on to some other motifs - birds, apples, pears and cherries are calling to me!  And Mum liked her gift and is at least putting some of her bits and bobs in them.  We'll see how long that lasts!  I crocheted a jam jar cover for her pens and pencils too as she's a great crossword fan and can never find a pen!


Tuesday, 2 June 2015

Gotta Stamp Again!


This little corner of blogland isn't overly visited (according to Blogger stats) but I noticed one of my most clicked-on posts was this one I wrote way back in August 2013. Well, I've had that stamping feeling again this past week, triggered by a purchase from that tempting craft store at Make the Day Special. This time I've fallen for a couple of sets from Waffle Flower.  It only takes a mouthwatering card or two spied on Pinterest for my resolve not to buy more stamps to disappear in a wink of an eye!


You will see some of those new stamps in these photos, along with some older sets from other favourite stamp brands. And if you look closely you might notice some sentiments in Welsh which are always popular at fairs here in Wales. Unfortunately Welsh language sentiment stamp choice is severely limited  and I tend to buy any I see. But I must thank my lovely blog friend Lynn at Crafty Linby for my latest "Penblwydd Hapus" (Happy Birthday) - a happy surprise in the post! Can you spot it Lynn?


Here's a closeup of cards using Waffle Flower's Loved set. As you can see I cannot give up my beloved one layer style small note cards. I buy ready made blanks 4 inches and 3 inches square. The large sentiments above are Papertrey Ink's Graceful Greetings. Just the right size to be the focal point of a 4 inch card. 


There are a few images from Wplus9's Freshcut Florals on the heart card too. I drew round a heart die lightly in pencil and stamped within the lines, rubbing the pencil marks out afterwards.


Lastly these cards use Waffle Flowers' Flower Circles set - a bit of an unusual style for me.  However I fell for that stylised lantern stamp and just had to have it. I love Japanese calligraphy and think these three cards have a little Japanese style. Do you agree? ;o)

And now for something completely different!!!  Just have to show off a few photos from last Thursday's 'Out There' concert at Liverpool's Echo Arena. Do you remember when cameras were forbidden at live performances on pain of death - well expulsion anyway! Not any more - you couldn't see the stage for cameras and phones at times.  Of course I joined in! This was my first experience of a large gig and I really enjoyed it - even if my ears were ringing for hours after.


Of course we would not normally consider spending so much on an evening out (do you know how much tickets cost!!!! I was shocked!) but we were lucky enough to be guests of one of the band, were invited to the artists lounge for pre-show nibbles and had seats down the front.  A great night I won't forget - after all I was in love with Paul when I was fourteen! ;o)


Tuesday, 26 May 2015

Bank Holiday Walking


Well not much was going on here this bank holiday (no transport available for any jolly outings) so when the sun came out I took a walk to the cemetery.  Its a lovely walk, especially at this time of year when the lanes are lined with beautiful swathes of Ladies' Lace and the hills are clear and close after rain.


Along the way I found many of my favourite wild flowers.  Here are a few you might recognise - well actually I've named them for you.


I was happy to see these bluebells were our own British variety not the invading European bells which are usually seen in hedgerows and verges near gardens these days.  Although most of these wild flowers do turn up in my semi wild garden I've never seen Bluebells there but there are dozens of the blue and white bells from 'The Continent'.  Still, I can't complain, they are quite pretty, but like daffodils their leaves have to be left to die back naturally to feed the bulbs for next year.  Can't wait to cut them off - they do look so untidy.


I often wonder why my garden looks so untidy while the farmers manage to keep their land looking so neat and tidy.  Lots of very hard work I suppose.


Its not a long walk, about two and a half miles there and back.  And its on the flat, which is unusual round here. But it was a warm afternoon so I casted my clout - after all the May was most definitely out! 


Tuesday, 12 May 2015

Gelatos - yes, I thought it was ice cream too!


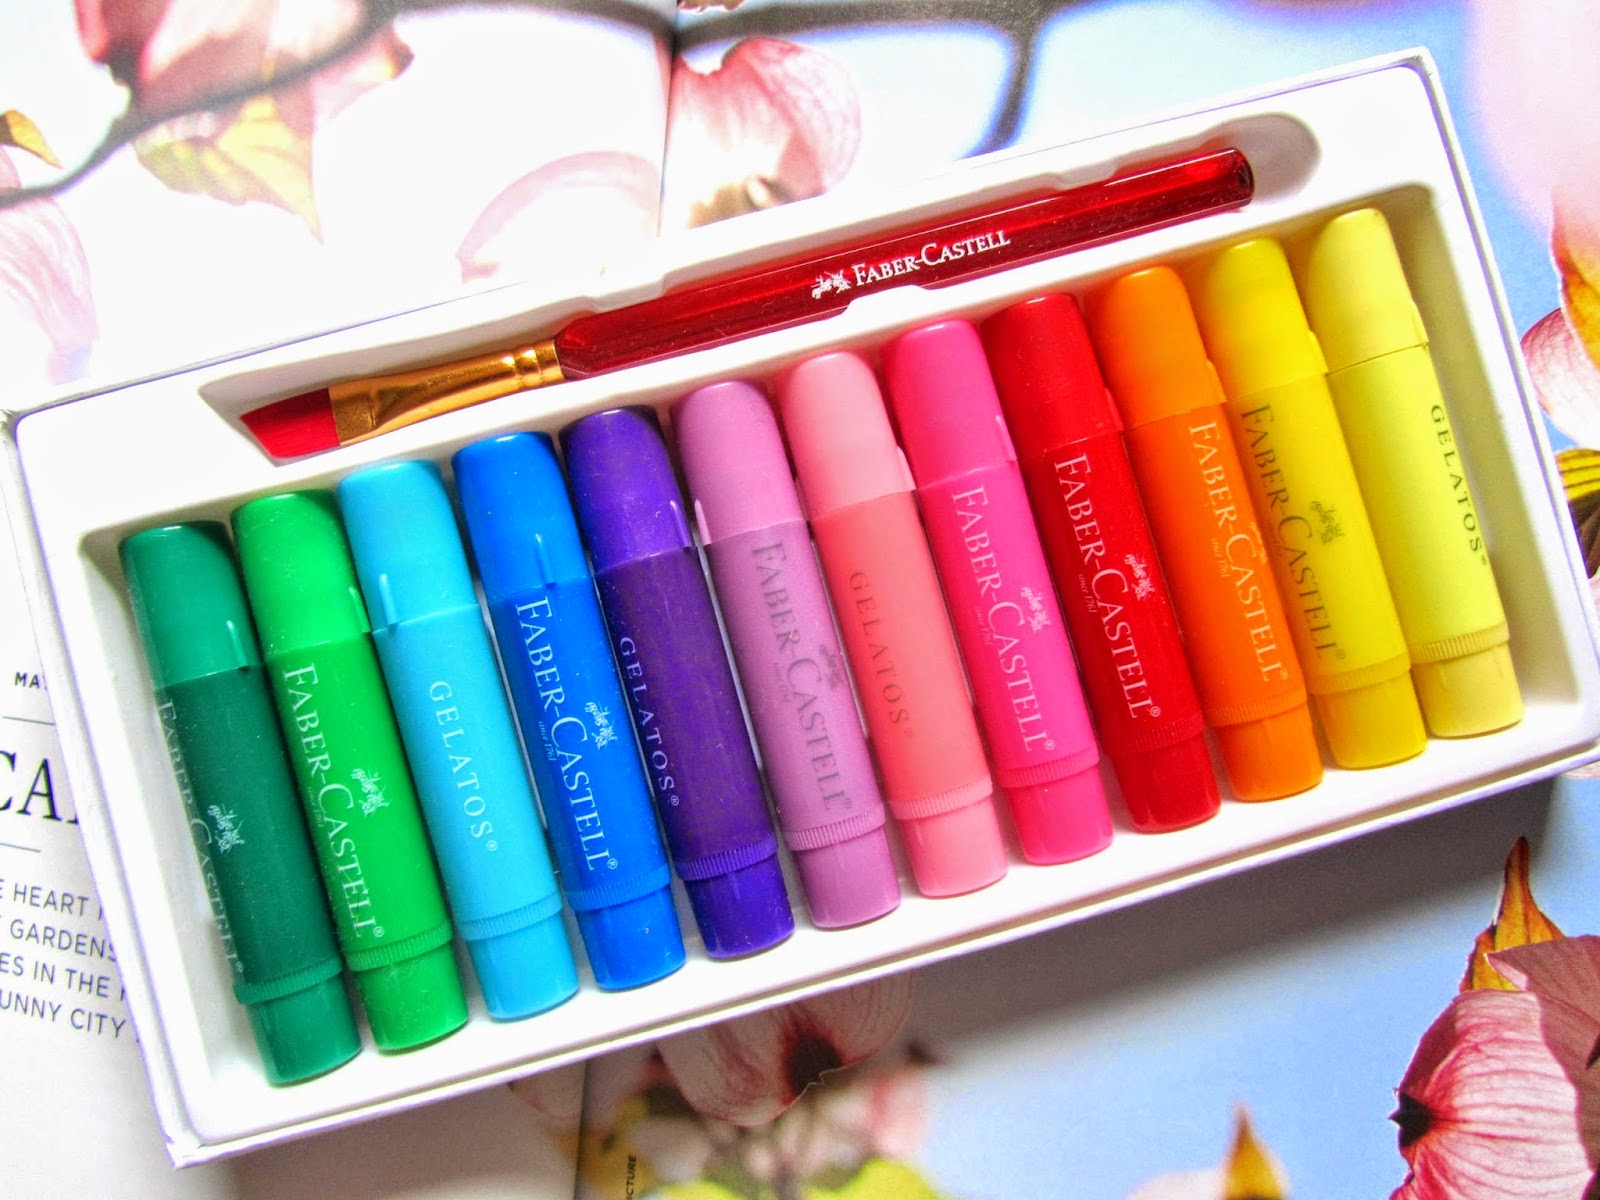
I sometimes like to watch a couple of crafty Youtubes when I'm having my tea and happened to catch Melissa Phillips' Make it Monday for Papertrey Ink a couple of weeks ago. I was really taken with her colouring technique using Faber Castell Gelatos - a product I'd never come across of before. I ordered a set from the excellent Local Art Shop website as my 'local art shop' didn't stock them.


They arrived in double quick time and I had a go copying Melissa's technique. I stamped my first card in pastel colours and, as in the video, gingerly added the gelato colour with a piece of paper towel.  The effect was really pretty so on my next card I went a bit bolder with the colour.


There are lots of colours in the gelato range but you can 'mix' them to get the shade you need. I was able to get the right green for the leaves on my bold card by adding yellow over the lime green you can see in the box.  I love how these turned out.  Now I need to find other ways of using my new Gelatos - Youtube here I come!

Stamps used: Papertrey Ink: Honey Bee; Green Thumb; Background Basic Super Gingham

Tuesday, 28 April 2015

Quick & Easy Gifty Ideas


I always need quick and easy projects I can make for the occasional craft fair I attend.  What's needed is something quick and inexpensive to produce out of supplies I've already got and that I can sell at a low price. Hopefully to draw in customers who might then make multiple purchases - isn't that what supermarkets do!

Anyway - whilst browsing in The Works craft section a few weeks ago I found these pretty sticky backed fabric sheets - £1.99 for a pack of four different designs - and the idea of these little brooches came into my head.


They couldn't be easier to make. I drew round the wooden shapes on the paper backing of the fabric and cut out just inside the pencil line. You can carefully cut off any overlaping edges with a sharp scissors but its better to get the size right on the first stick! I gave the fabric a coat of Mod Podge but watered down PVA glue would be just as good. Glue on a brooch back and present on a stamped card. These will make an appearance at my next fair whenever that is - I've nothing booked at the moment - but they'd also make pretty last minute token gifts don't you think?

Saturday, 18 April 2015

Paper Pinwheels


I made a bunch of paper windmills for a craft fair last week.  I know, I used the American word pinwheel in the title of this post, but it rhymed better - sorry!  I saw the dies at Make the Day Special - unfortunately out of stock at the moment but there are others on the market. When they arrived I realised the windmills were mean for cards and papercraft decorations and would not spin - a bit disappointing.  Anyway not to be thwarted I decided to try and make them spin - which is what windmills are meant for aren't they!


I have to admit it was a bit fiddly but eventually I worked it out and thought I'd share.  Hope this makes sense.  I've numbered the steps to go with the photos above.
  1. I used wooden kebab sticks you can find easily in supermarkets.  A hole is needed but they split easily when the awl is pushed through so a piece of tape (I used washi tape) wrapped round the top before you make the hole stops the splitting.
  2. I die cut the pieces from double sided scrapbooking papers. If you want to make a 'bunch' a pad of paper will ensure all the papers will look nice together.
  3. Arrange 6 pieces in a wheel (a pin helps keep them together) and hold them in place with finger and thumb.
  4. I found it best to staple the pieces together in the middle - if you don't do this you will find it very frustrating getting them to stay together for the next step. I used my Tim Holtz Tiny Attacher bought on a whim but I've found it SO useful - LOVE IT!
  5. I had some pearl headed florists' pins but any long pin with a head will do - there are lots of different designs on the market but a ball head is required here. You need to add something decorative for the centre of the windmill and a small bead which will enable the spinning. I had these flower shape sequiny things I thought I'd never find a use for (NEVER throw anything away!).
  6. Gently shape the pieces with your fingers as in the photo.  This will make it easier to get the pin through all the pieces and the hole in the centre. I'm not going to kid you, its rather fiddly getting everything on the pin but practice makes perfect! Add another couple of small beads to the pin at the back.
  7. I've used a clothespeg to hold the windmill on the pin in the photo - otherwise it will jump off! Make sure you hold everything on and push the back and front slightly together but only a LITTLE BIT.
  8. Poke through the hole in your wooden stick and bend the pin down at a right angle with a pair of pliers. I thought children might want these so I cut the sharp end of the pin off with wire cutters.
  9. Finally wrap another piece of tape round the pin end to tape it to the stick.

Ta-da your windmill. Give it a sharp puff to make it spin. Well, I have to admit they don't spin as well as those you buy in the shops but they do and they look very pretty in a jar on the windowsill.

Saturday, 4 April 2015

HAPPY EASTER!


Happy Easter all! Its been a miserable Easter here in North Wales so far - but the perfect time for crafting without the guilt of staying indoors! Love this illustration from an Enid Blyton Holiday book though I really can't work out what the girl is offering the little chick - a worm perhaps??

I recently treated myself to a Free Motion Stitching workshop at The Coach House. I've struggled to find time to practise much since and I really really want to improve on what I learnt from the delightful and hugely talented tutor Fliss Owens.  But I have finished one project and yesterday started another.......


I made my first embroidered picture into a peg bag as I much prefer things I make to have a practical use rather than just sticking them on the wall or leaving them in a pile on the side.  And guess what, the sun has suddenly broken through the cloud cover so maybe I can use it this morning!!!!


My picture was inspired by this little sketch in Rebecca Crompton's Modern Design in Embroidery published in 1936.  Rebecca, Kathleen Mann and Priscilla M Warner are embroidery heroines of mine and I've been lucky enough to collect a lovely library of books by them full of gorgeous inspirational work and advice, mostly at very modest prices. However for some reason this book of Rebecca's commands a very high price so when I saw it on sale as what I thought was a very reasonable amount I jumped at it and was not disappointed when it arrived. If you are curious I've a Pinterest board of their work you might like to look at here.


I'll definitely be dipping into it for inspiration for my next creation. Lastly here are a few photos from our class at the Coach House last month, including my very first attempt - the flower in a pot. Although I wasn't happy with it as I was creating the embroidery, Fliss was right when she said it would turn out fine and I really liked it once it was finished and sewn into a lavender sachet.


LinkWithin

Related Posts with Thumbnails